Pages

Saturday, July 12, 2014

Wedding Cake 101: Introduction

Wedding Cake 101:

So You Want to Make a Wedding Cake...


I would just like to take a moment to acknowledge that about a month ago, this happened:
 
 
And this:
 
 
And this, too!
 
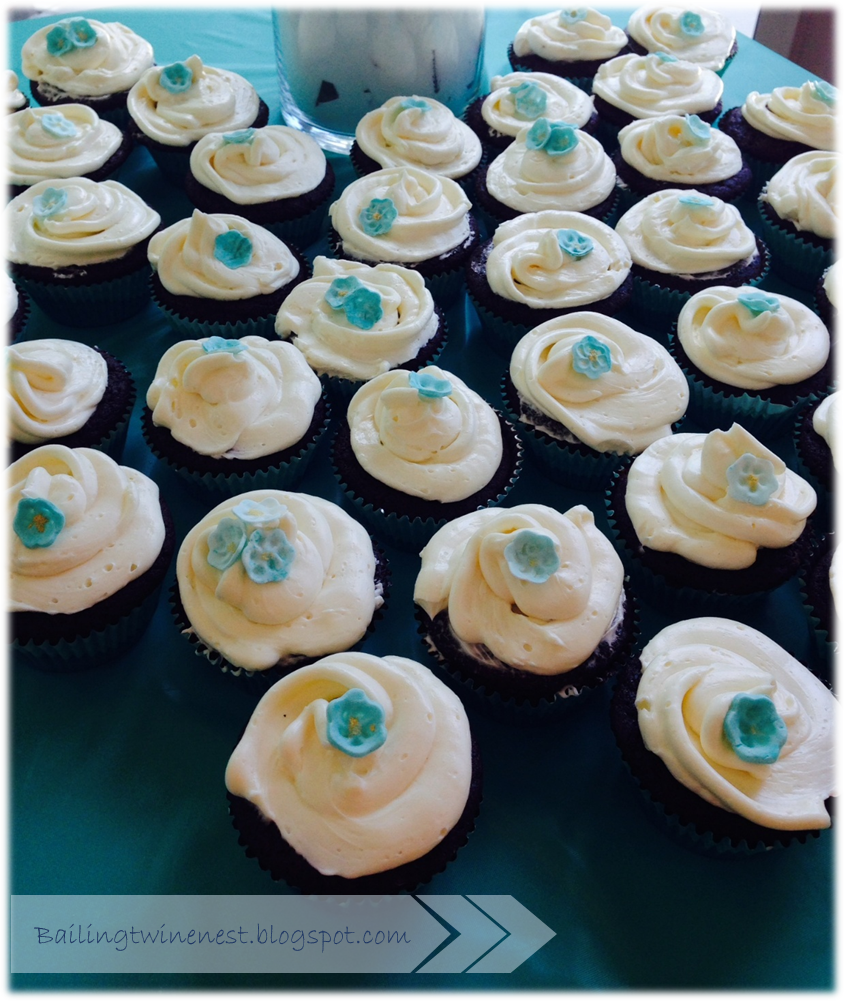
About two months ago, I was "voluntold"/asked to make a cake for an acquaintance.  I think the only reason she asked is because her family member who had agreed to make her cake backed out and she knew that I like to cook. But cooking a great dinner and single-handedly creating a wedding cake to feed 150 people are a little different. Now, I know that these cakes are far from perfect, but the reason I want to bring attention to them is because I AM NOT A BAKER... nor am I a cake decorator... and I rarely even eat cake!  But, the important part is that if I can do this, so can you!
 
And why would you want to be able to make a wedding cake?  Well, for starters, to purchase the baking and decorating supplies for these cakes, it cost right around $250... which is insanely cheap for a semi-professional cake along with 3 dozen gluten-free cupcakes. Every bride deserves a great wedding cake, regardless of their budget.  Whether you make the cake for yourself, a friend, or family member, it can definitely be a great option for many.  Plus, the pride associated with it is a wonderful plus!
 
I spent a lot of time researching the best methods for creating the cake... from frosting to construction. There is tons of information out there available to you, and many of them may be better than my suggestions because, again, I am by no means a professional.  I encourage you to do your research before you take on the endeavor.  Being prepared is the only thing that got me through and helped everything turn out as well as it did. 
 
One of the problems I experienced was that while the information is available, you have to search it out and piece it all together. Unfortunately, most of it is not all sitting in one convenient location. So, to help the beginner cake makers out there, I will be posting on several different topics to guide you through your first cake:
 
- Necessary and helpful supplies
- How to accomplish an ombre frosting technique
- How to construct the cake
- How to make simple gumpaste flowers
 
Check back soon for more in this series!


Monday, January 27, 2014

Make your own Sushi in Five Easy Steps!


I love sushi!  However, I have always been very intimidated by the sushi-making process.  It seemed like the food equivalent of painting a masterpiece.... and I am not a very good painter!

So, for a fun girls' night activity, we summoned our courage and decided that we would make our own sushi.  The results surprised us all!  Not only did it LOOK like sushi, but it TASTED like sushi as well!  It was delicious actually!  And the best part:  It was really simple to make! It was so simple that I can see this becoming a regular meal!

So, grab your chopsticks and let's get started!


 Ingredients you will need:
- Nori (Seaweed sheets)
- Sushi Rice or Sticky Rice (We were very intimidated by the process to make sushi rice, so we bought microwavable sticky rice from Annie Chunn - "Annie Chun's Rice Express White Sticky Rice" - it was fast and worked amazingly well!)
- Vegetables of Choice: Carrots, Avocado, Green Onion, Mushroom, Cucumber, etc!
- Crab Substitute: Again, totally intimidated by real raw fish!  If you decide to be brave, be sure to buy high-quality sushi-grade fish.
- Cream Cheese
- Bamboo Rolling Mat (we used dollar store reed place mats. If you don't have any, don't worry - I tried rolling the sushi without a mat and it worked just fine!)
- Soy Sauce and Wasabi for dipping


We popped our rice into the microwave and once it was done microwaving, we mixed in a little rice vinegar and sugar, then placed it in the fridge to cool.  While it cools, you can chop all your veggies into long thin strips.


Now that you have everything chopped and your rice has had time to cool down a little, it is time to start assembling your sushi roll!  Lay your Nori on a flat surface or your bamboo rolling mat.  Begin by getting your fingers wet with cold water and spreading a layer of rice over the Nori.  The water will help you be able to spread the rice without it sticking to your fingertips. Once the rice is spread out, add your other ingredients.  Keep them clustered on one end of the Nori (see the picture above).


Roll everything up!  Start at the end with the veggies.  If you are using a rolling mat, lift the edge of the mat and begin slowly rolling. As you go, roll the extra mat back towards yourself in the opposite direction of the sushi roll (see picture).  If you are not using a rolling mat, slowly lift the edge of the Nori and roll it over onto itself.  Continue to roll until you reach the end of the Nori.  Wet your fingers and use the water to seal the edge of the Nori to the roll.


Move your sushi roll to your serving plate. Use a sharp knife to cut the sushi roll into slices about one inch thick. You may need to use the point of the knife to begin the cut into the Nori.  Cut gently so that you don't end up with a squished sushi roll!  Arrange the slices on your plate and ENJOY!